Creating New Inspection
To create new inspection, go to Maintenance and choose either Inspections.
If it’s your first time creating one, you will find the image below. Click Create Your First Inspection.
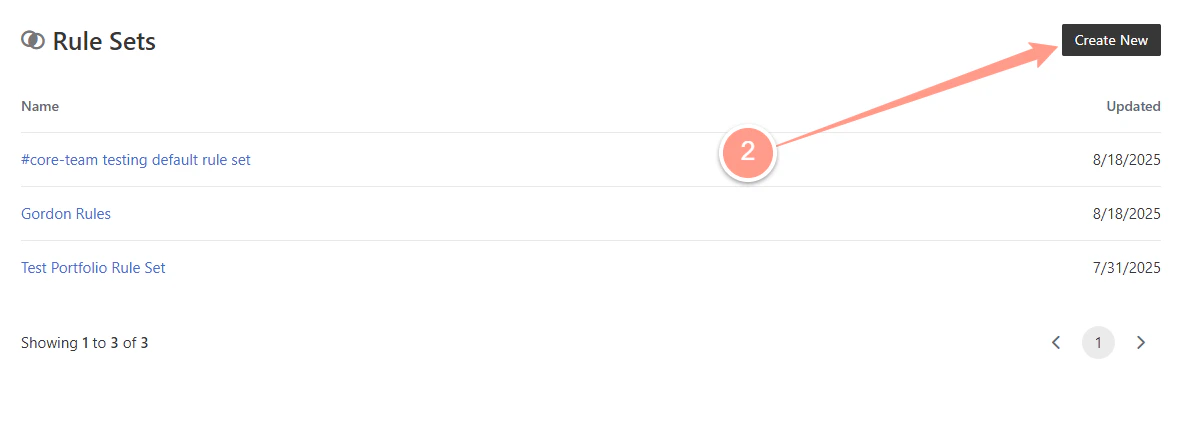
If you already have a list of inspections, click Create New at the top of the page.
In this example, we will select Blank.
Adding a New Item Within an Inspection
If you need to capture specific details or areas unique to your property, follow these steps to add custom items to your existing inspection.
From your inspection list, click the **hyperlinked title **of the inspection you want to add new custom item.
On the inspection page, click the plus (+) icon located at the top right corner.
Then, select the area, enter the item name and description, and click Add once you’re finished.
A prompt will show that the Inspection item is added.
Deleting an Inspections
If an inspection you previously created is no longer needed, you can delete either the entire inspection list or specific items within it by following the steps below.
- Deleting the Entire Inspection Order
From your inspection list, click the hyperlinked title of the inspection you want to delete.
Then, click the trash icon at the top of the page.
When prompted, click OK.
The page will refresh, and you’ll see that the inspection has been removed from your list.
- Deleting an Item within an Inspection
If a specific item in your inspection order is no longer needed, you can remove it by following the steps
Navigate to your inspection page and locate the item you wish to delete.
Expand the item, then click Delete. The item will be removed from the list.
Updating an Existing Inspection
If you need to make changes to an in-progress inspection—edit details, property address, changing the inspection name, follow the steps below.
- Update the Inspection Name
From your inspection list, click the hyperlinked title of the inspection you want to update.
To update the inspection title or name, double-click the current name, make your changes, and click Save when you’re done.
- Update the Property Address
If you need to update the property address associated to the inspection, first click the pencil () icon.
Next, search for the property address and click Select to proceed.
The new address will automatically appear.
- Update/Edit the Inspection Description
To update the inspection description, double-click the current description, make your changes, and click Save when you’re done.
- Update/Edit an Inspection Item
To update an inspection item, locate the item you need to edit, expand it to reveal the Edit button, then click Edit.
Make the changes you need—area, name, or instructions. Click Update once you’re finish.
The changes you made will automatically appear instantly.