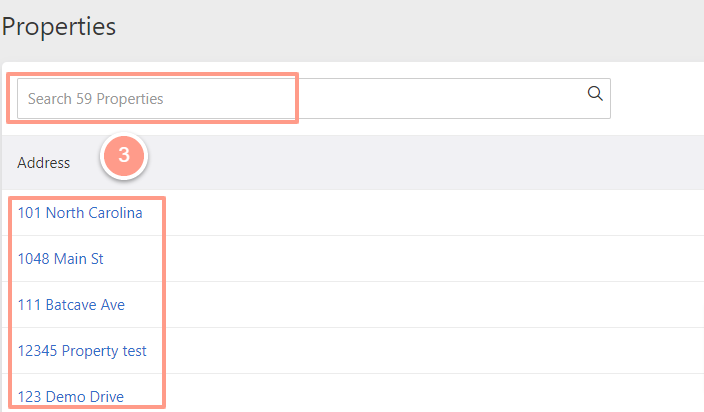
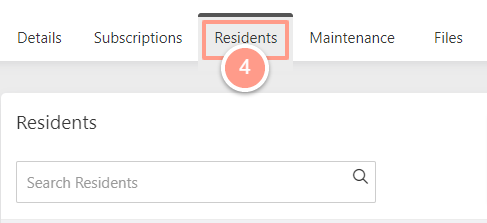
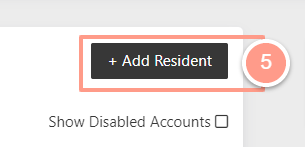
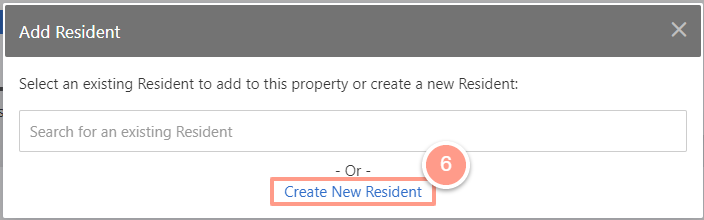
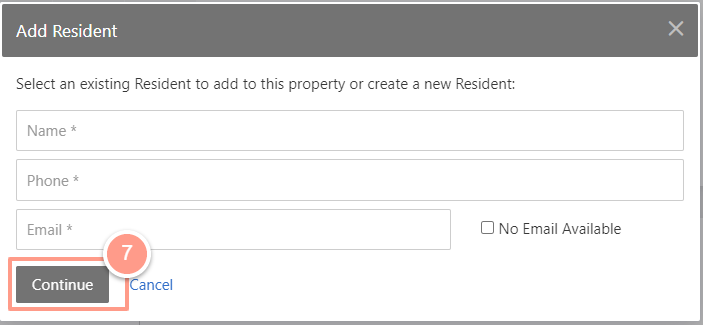
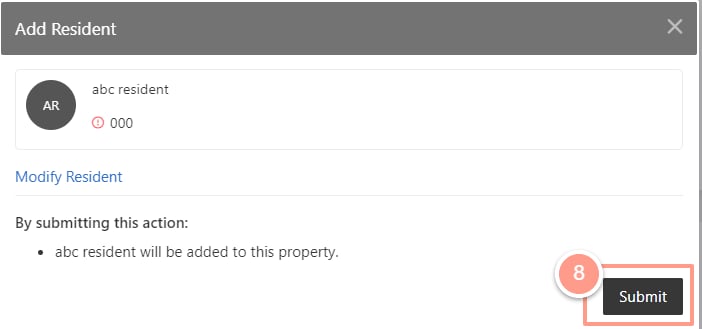
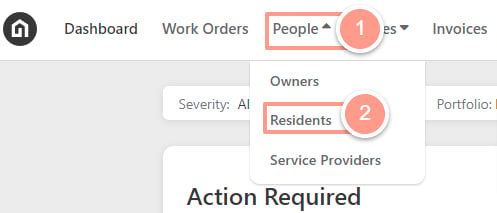
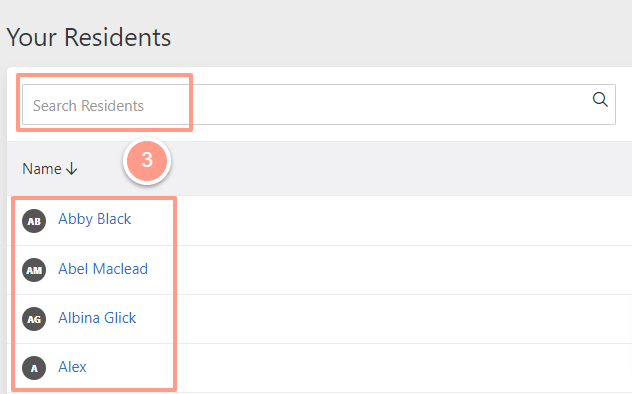
How to Add New Residents
Click Places and on the dropdown select Properties from the top navigation menu.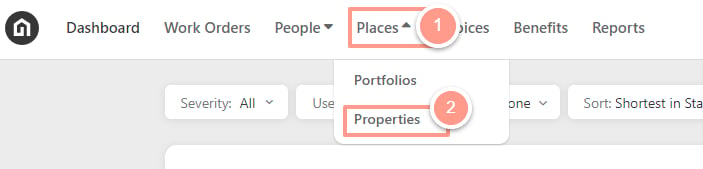
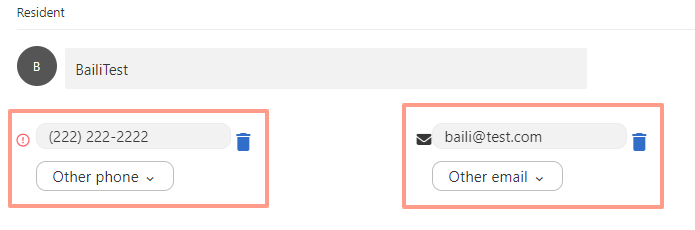
How to Modify Resident Contact Information
From the resident profile page, you can edit the resident’s primary phone number and email address. You can also add additional phone numbers and email addresses.Please note that additional numbers and addresses are only used as a reference.
How to Add Resident’s Move-in and Move-out Dates
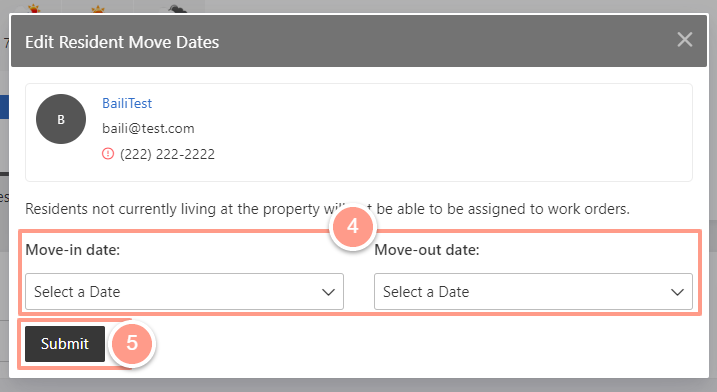
In the property page under the Residents tab, click the ellipsis icon on the right side of the resident and select Edit Resident Move Dates.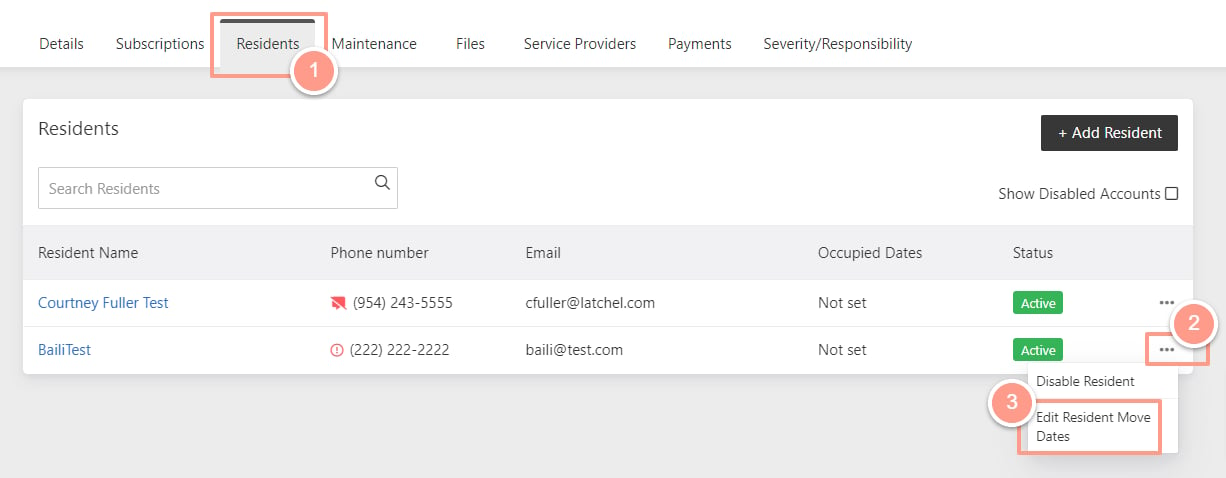
Moving out a resident does not mean that the resident’s profile will be disabled.
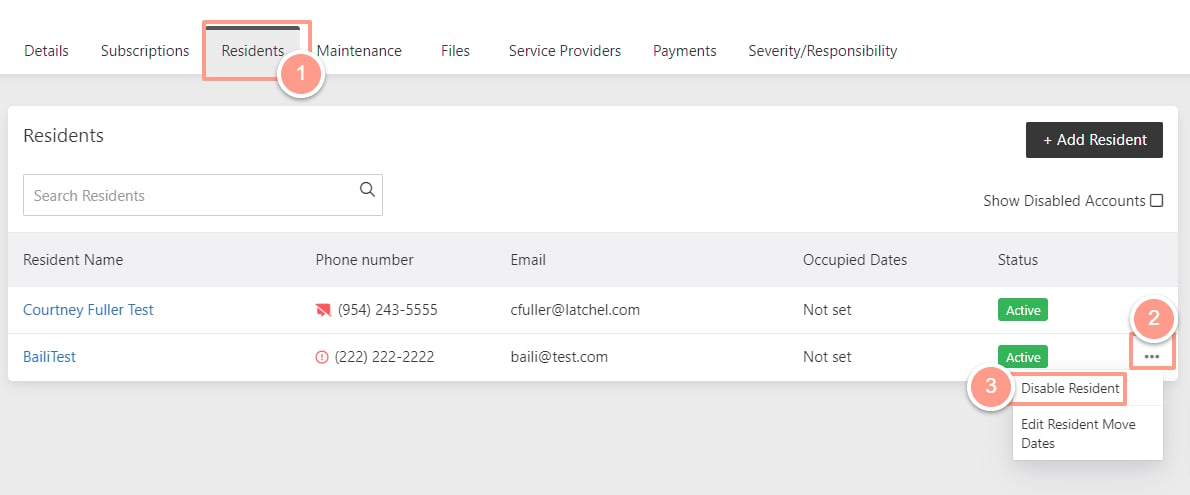
How to Disable a Resident Profile
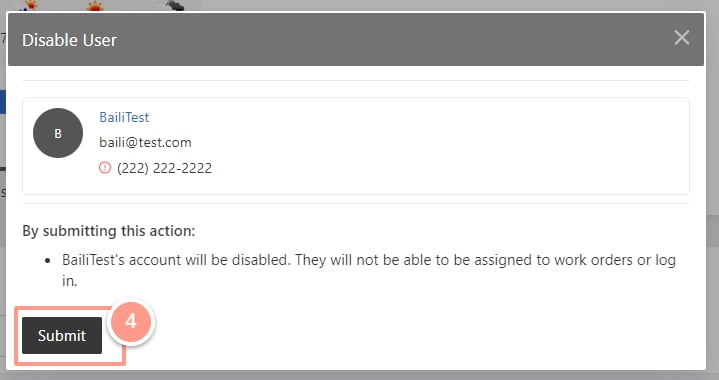
Property Managers can disable residents from the Property page and from the Resident’s page. From the property page under the Residents tab, click the ellipsis icon on the right side of the resident and select Disable Resident.