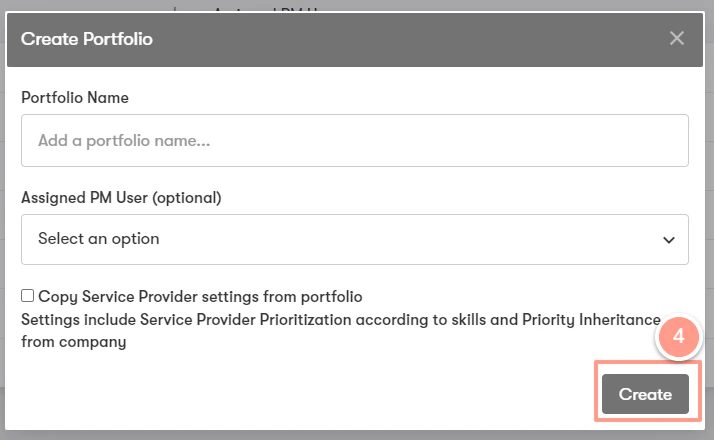
How to Create a Portfolio
On the upper left-hand side of your dashboard click Places then select Portfolios.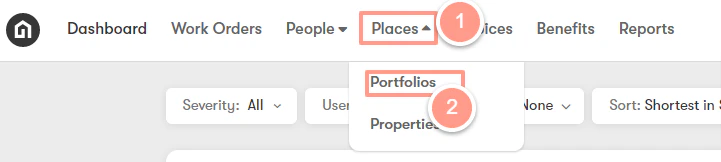


How to Manage a Portfolio
Overseeing a portfolio is similar in many ways to managing at the company level, as many of the settings and functionalities are quite alike.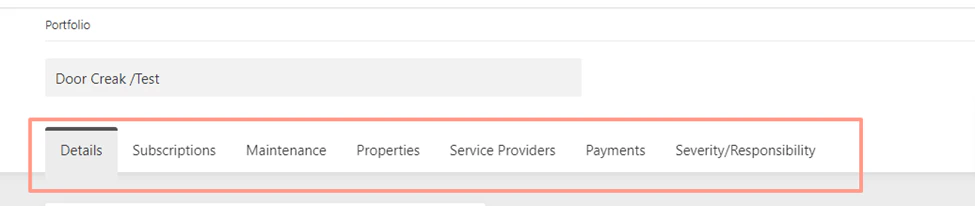
A. The Details Tab
Company users may modify the following information in this tab such as:- Assigned property manager.
- Assigned owner.
- Emergency Escalation Contacts
- Portal Settings
- Work Order Budget Limits
- Emergency Temperature Settings
- Non-Emergency Scheduling
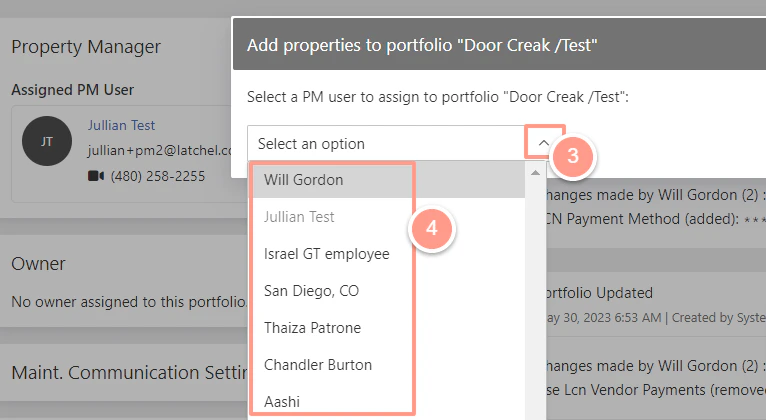
Assigning/Updating the Assign PM User
From the Details tab, under the Property Manager section, click on the three dots or ellipse and click on Reassign PM User.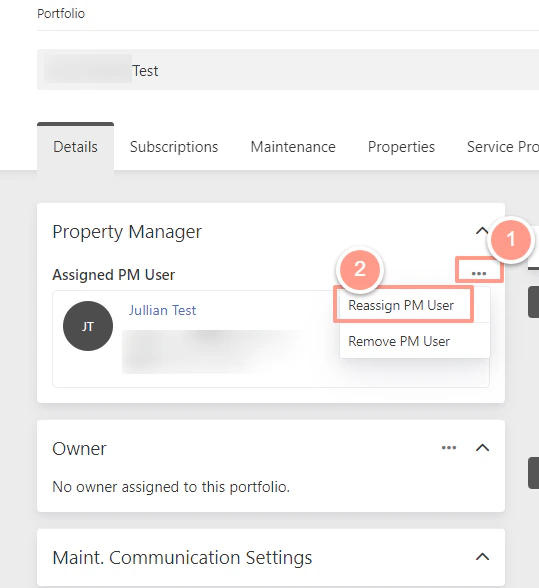

B. The Subscription Tab
This section provides your subscription information including status, start date, and end date of subscriptions.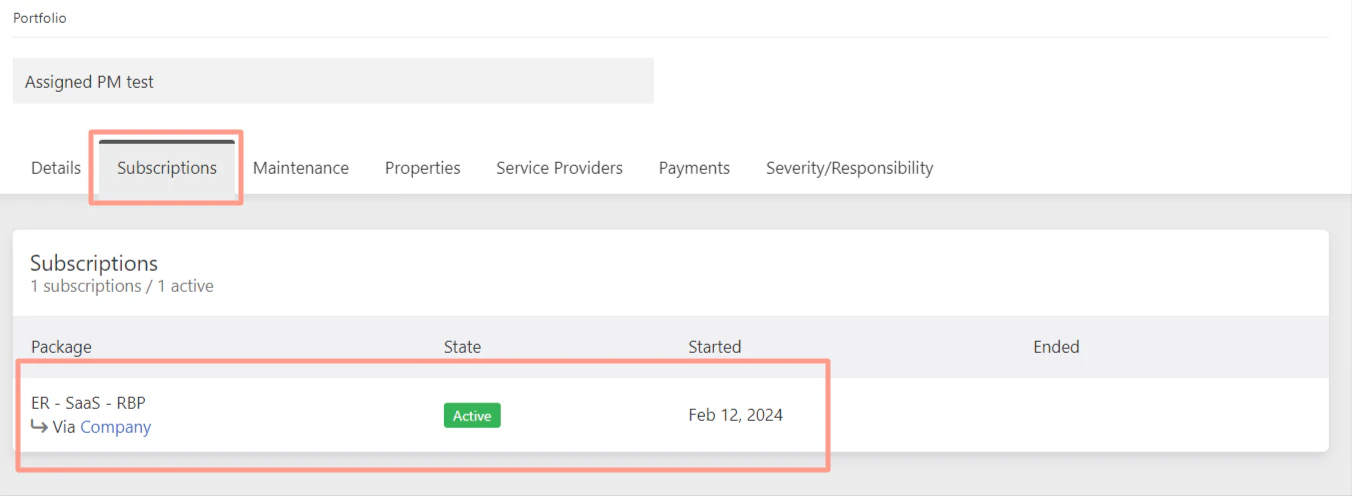
C. The Maintenance Tab
This tab allows you to view and search for work orders that are under the portfolio.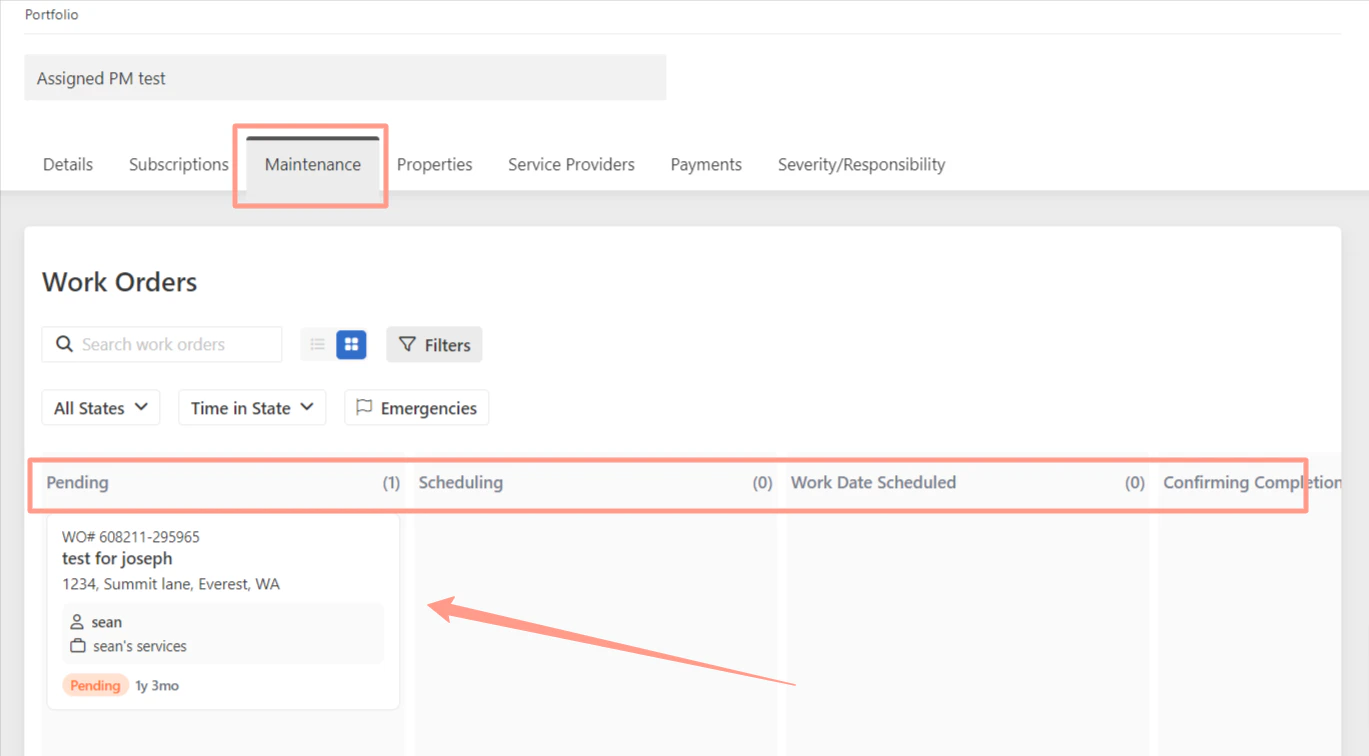
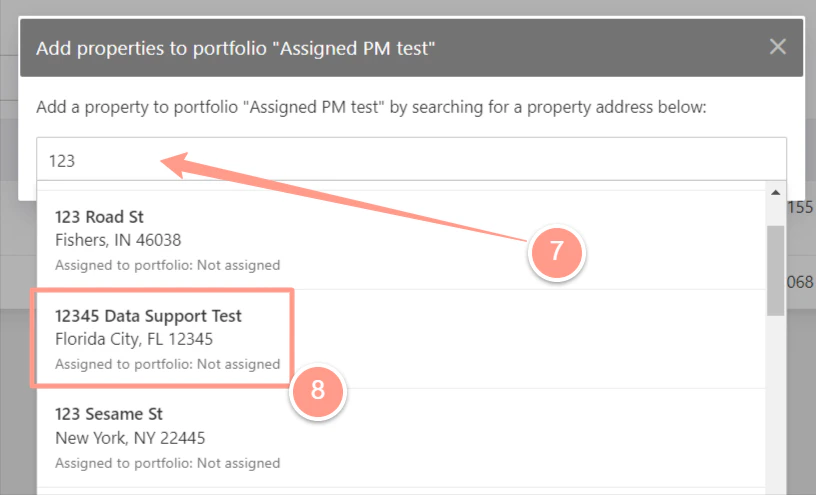
D. The Properties Tab
This tab displays all the active properties linked to the specified portfolio. Users have the convenience of searching for an address by typing it into the search bar. Additionally, new properties can be added by simply clicking the +Add Property button.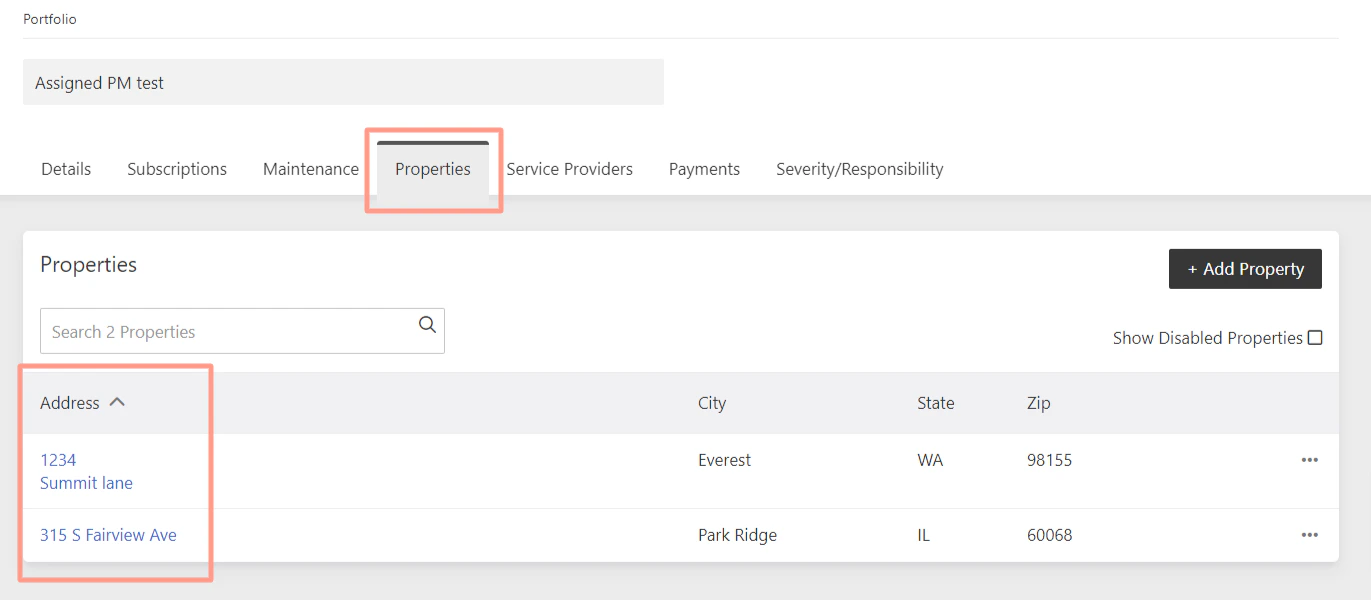
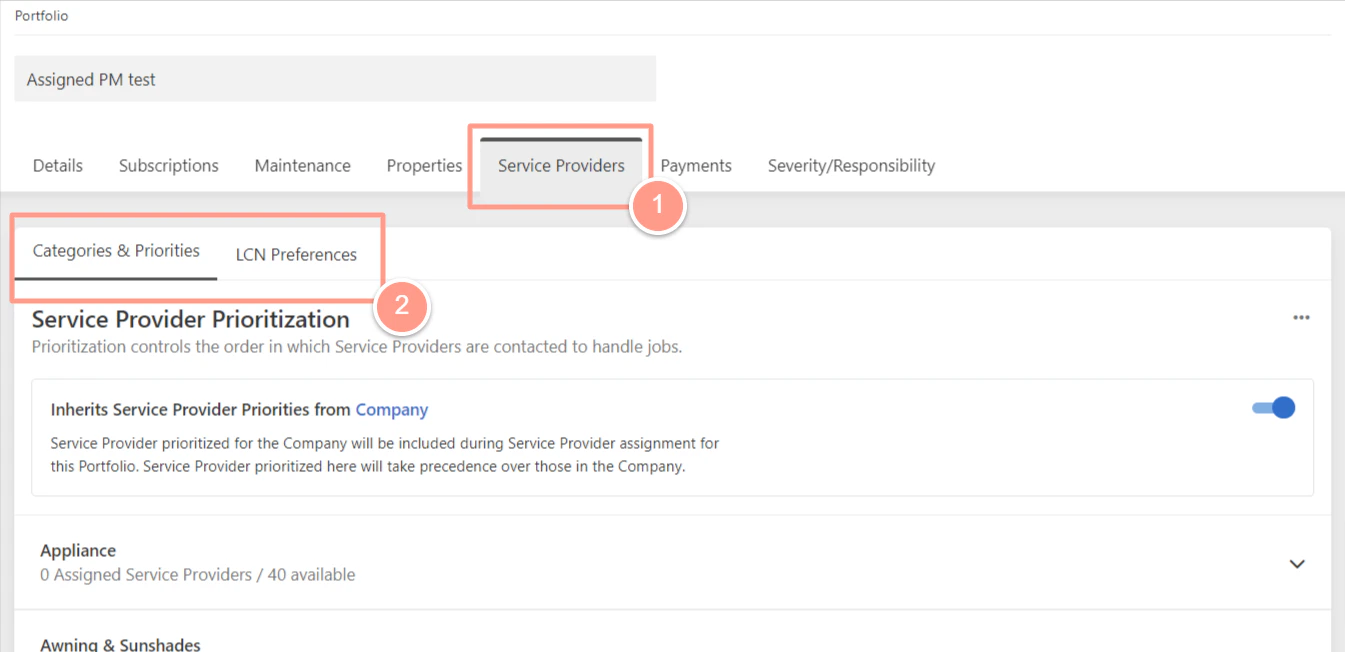
E. The Service Providers Tab
This tab allows any company users to manage the preferred service providers at the portfolio level. Service provider prioritization can be modified here including Latchel Contrated Network Service Provider. To know more about adding a service provider to a portfolio, you may follow the steps below:How to Add a Service Provider to a Portfolio
Learn how to assign a service provider to a specific portfolio so they only receive work orders from the properties you choose.
F. The Payments Tab
This tab offers detailed insights into the company’s current payment settings. This section also allows for updates to the payment method and gives options to override any existing payment setups for the service provider.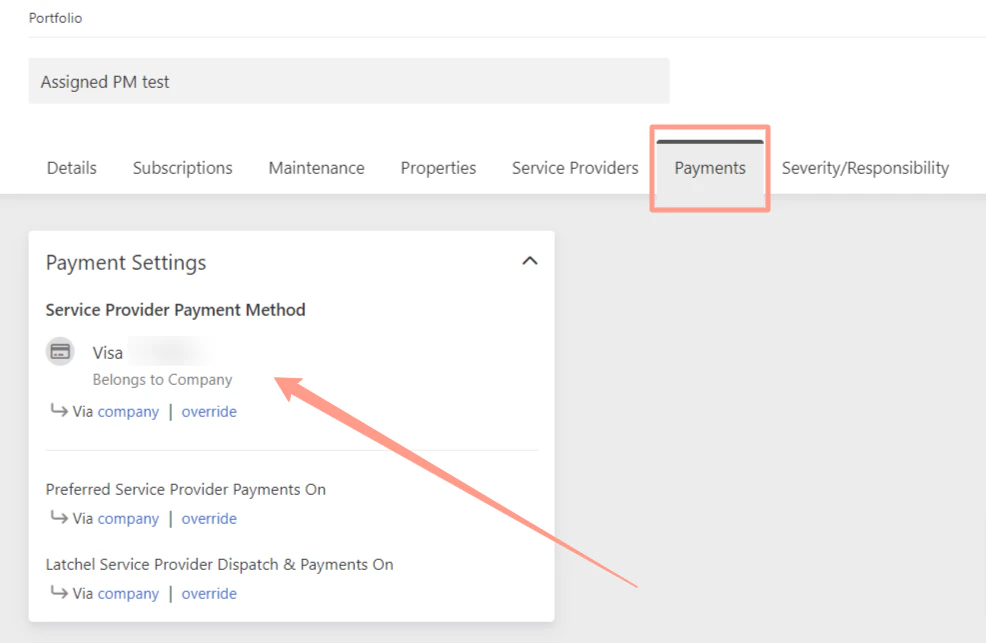
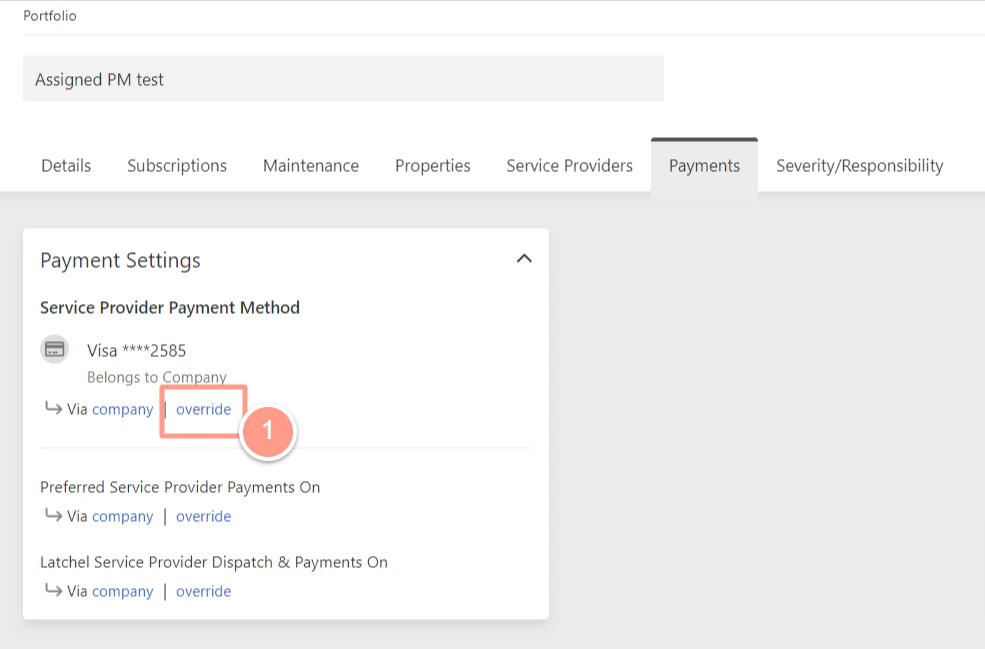
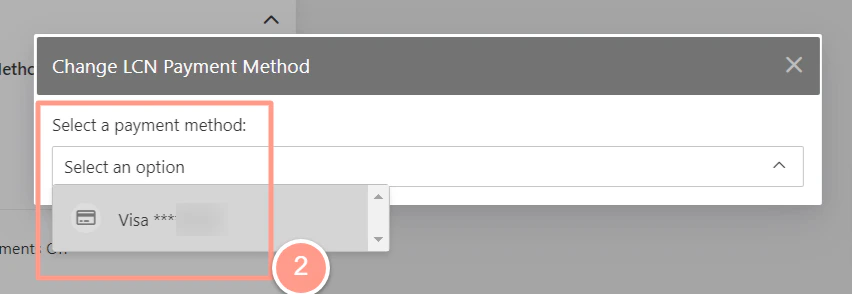
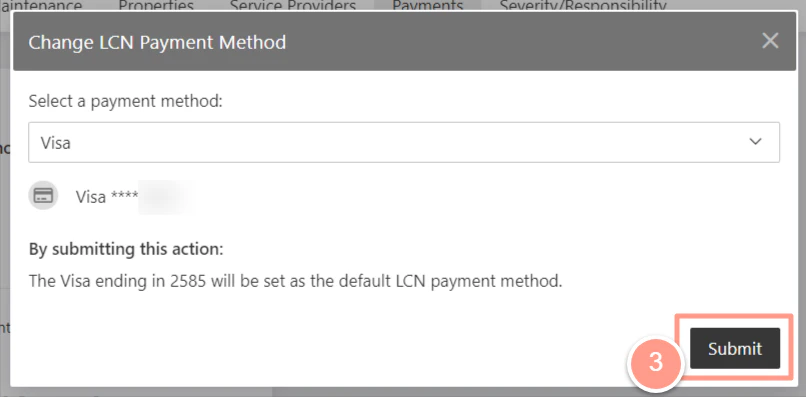
How to Update the Service Provider Method on File
Follow these steps to update or change the payment method saved for a service provider in your account.
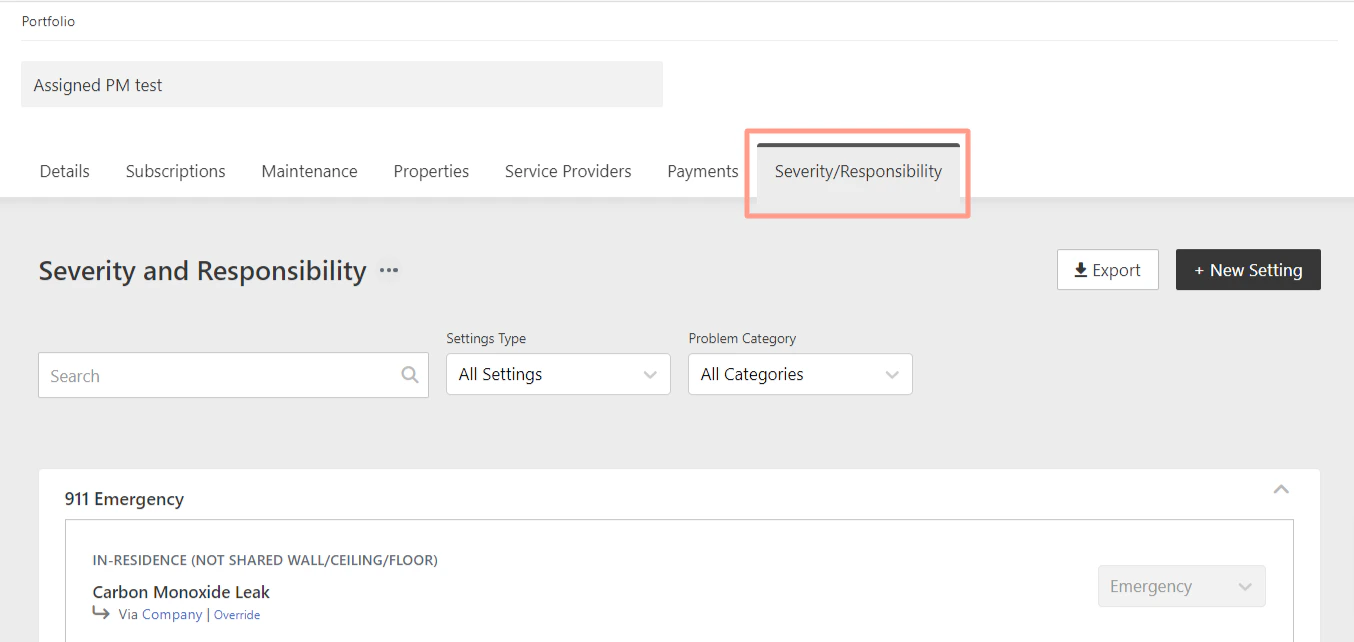
G. The Severity and Responsibility Tab
This tab is to view and update/modify the Severity and Responsibility Settings on a portfolio level. To know how you can adjust this setting, please follow the steps in:Managing Severity and Responsibility Setting.
Edit default rules for how issues are categorized and who’s responsible.