- First, go through the help guide below to download and install the Latchel Data Sync Extension.
How to Install the Latchel Data Sync Extension
Follow these steps to download and install the Latchel Data Sync Extension.
- To verify the sync is running correctly, create a test work order in your Property Management Software (PMS) and assign this test work order to the Team Latchel user.
- Email Address: This can be any email address that you manage that isn’t tied to an existing user in your system.
If you have Assisted Ledgering, Optional Benefits, or a Pinata and Filter contract with Latchel, our Customer Profitability Team may need access to your database. For this purpose, please use pmcompanyname@ledgering.com. Replace “pmcompanyname” with your actual company name.
- Recommended User Role: On-Site Manager
- First Name: Team
- Last Name: Latchel
- Sign out of the Latchel Data Sync extension, and then sign back in.
- Sign out of your property management software and then sign back in.
-
Navigate back to your property management software dashboard where you should see a floating Latchel logo at the top right.
To know more about navigating the new extension, visit:

Navigating the Latchel Data Sync Extension
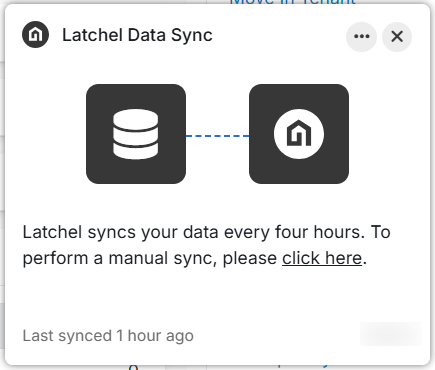
Explore the layout and key functions of the latest Latchel Data Sync Extension. - Auto-sync is now always on by default with the new Latchel Data Sync Extension, refreshing data every 4 hours.
- Once the sync has been initialized, you can complete or close the test work order in your property management software (PMS).