Integration Requirements
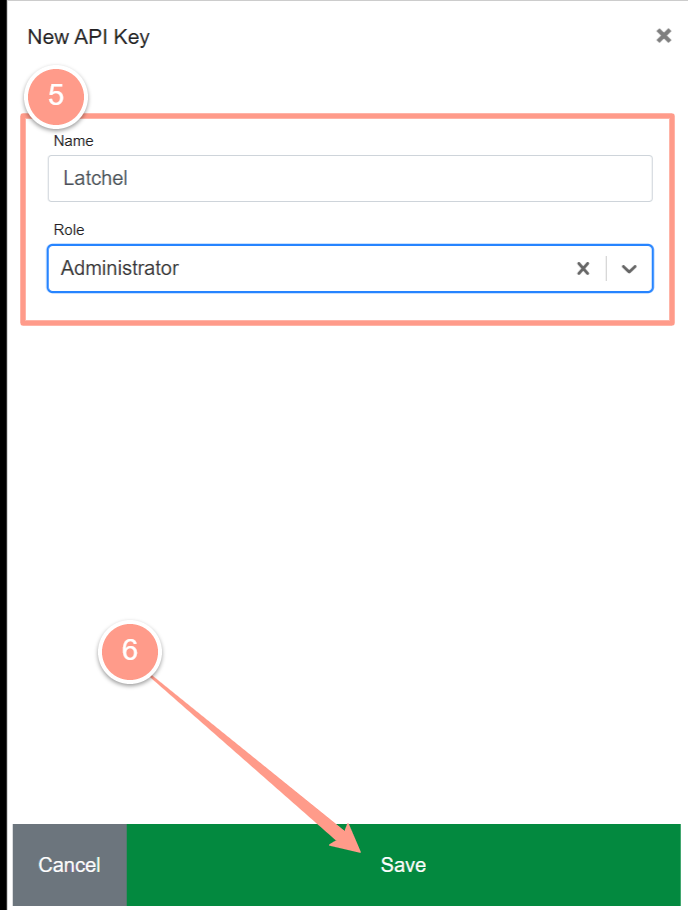
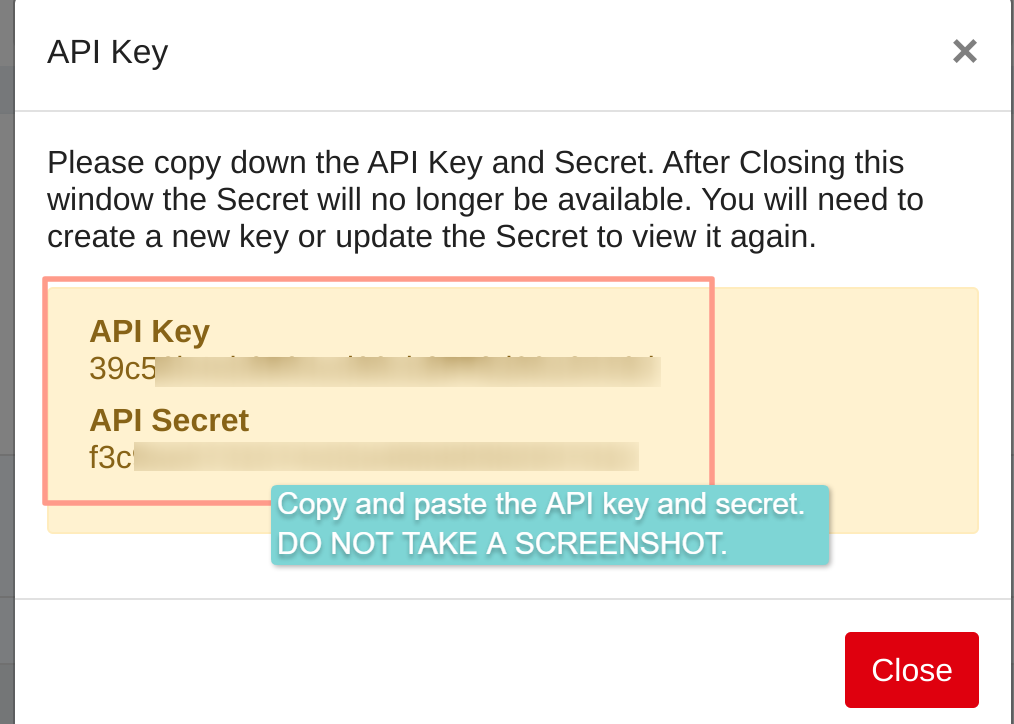
To begin your Rentvine integration with Latchel, you’ll need to obtain your Rentvine credentials or API keys. Please follow the steps below to retrieve this essential information. The Latchel engineering team will need 3 pieces of data:- API key
- API secret
- Customer subdomain. This subdomain is found in the URL of your portal. It is the first bit after “https://”. In the screenshot below, the subdomain is “demopm5”.

Obtaining the Rentvine Credentials
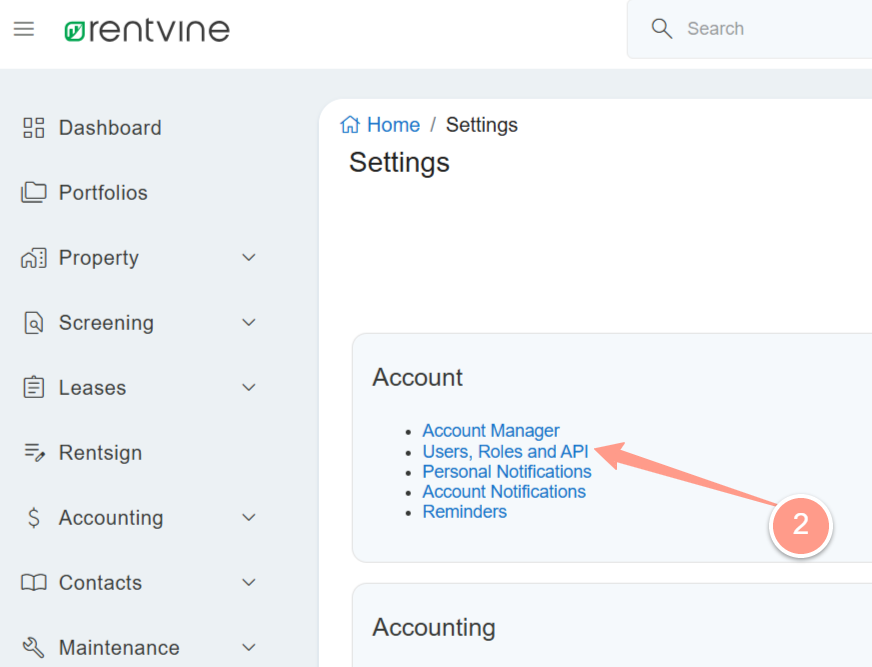
Follow these steps to setup an API Key. Login to Rentvine, navigate to Settings>Account>User, Roles and API Keys.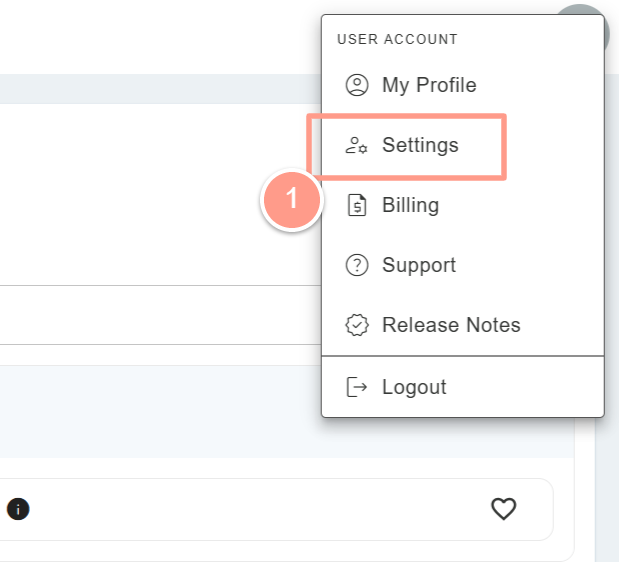

Get Property and Resident Data from Rentvine
This step is only necessary if you already have existing property and resident records in Latchel.- Lease Tenants Report
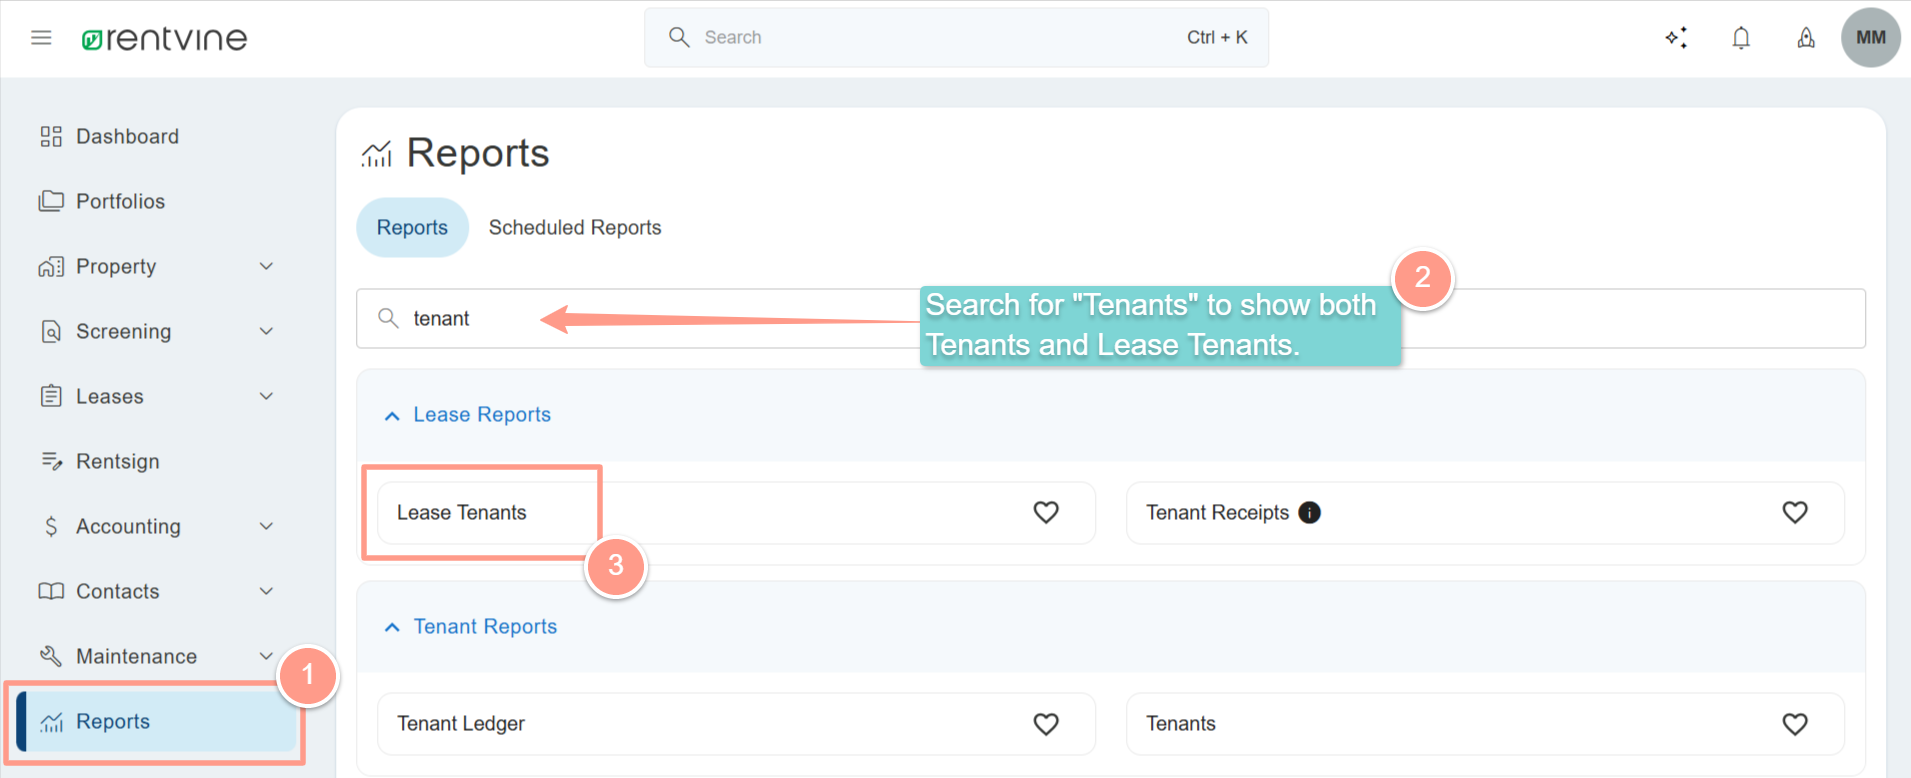
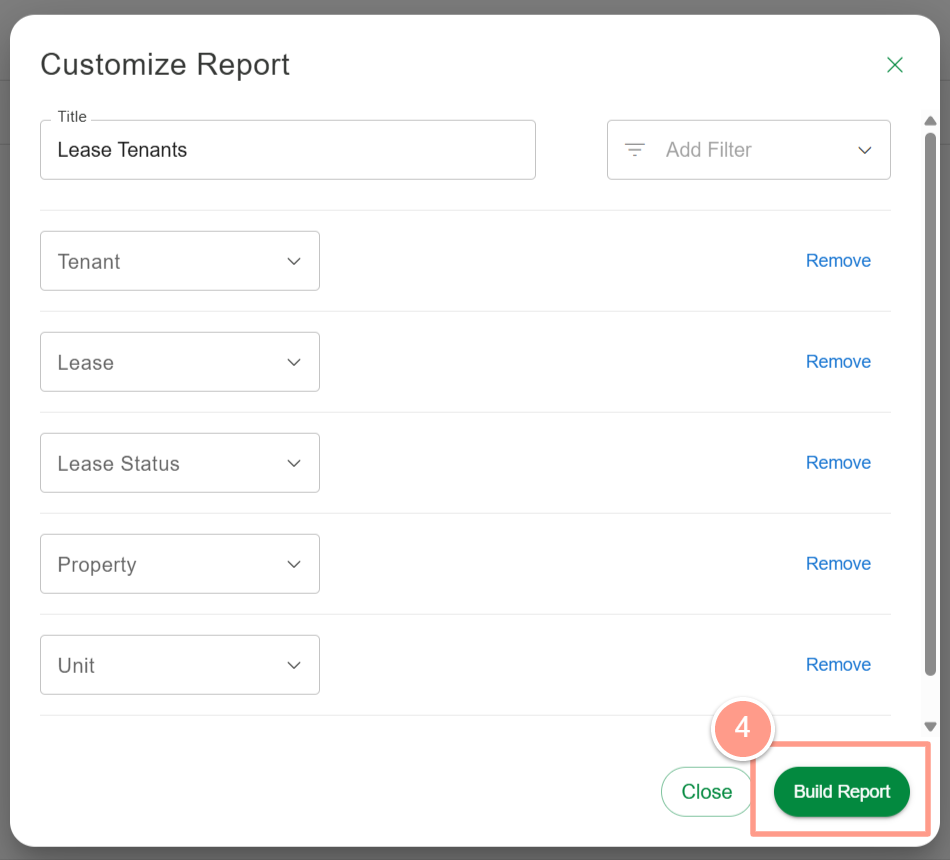
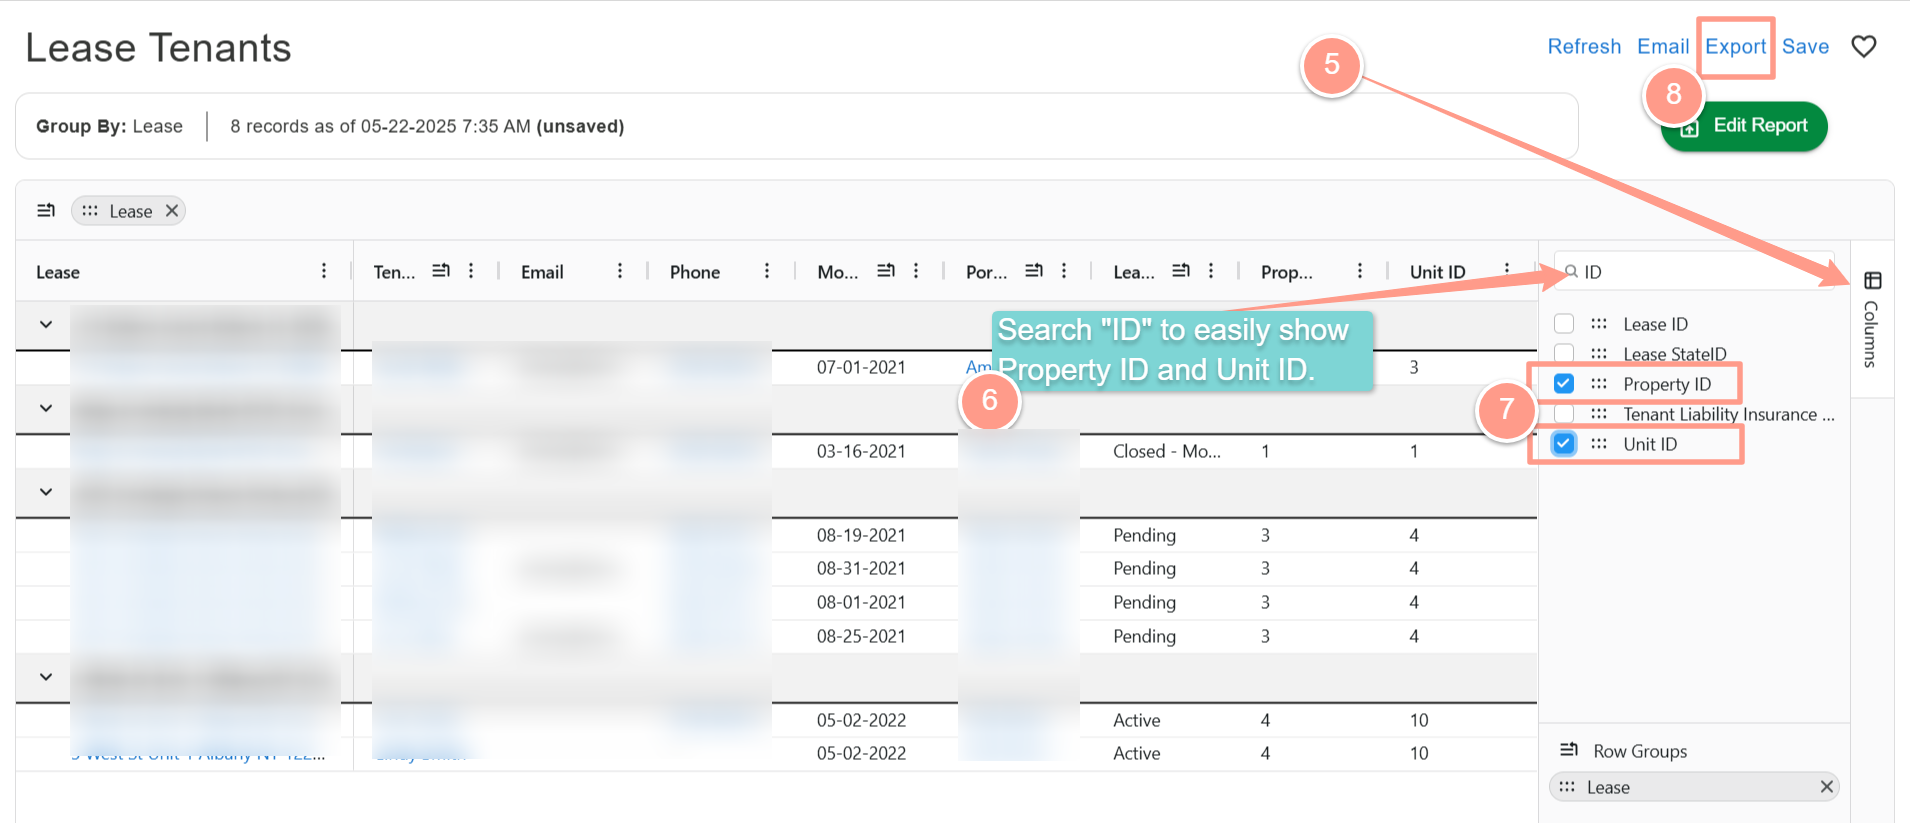
- Tenants Report
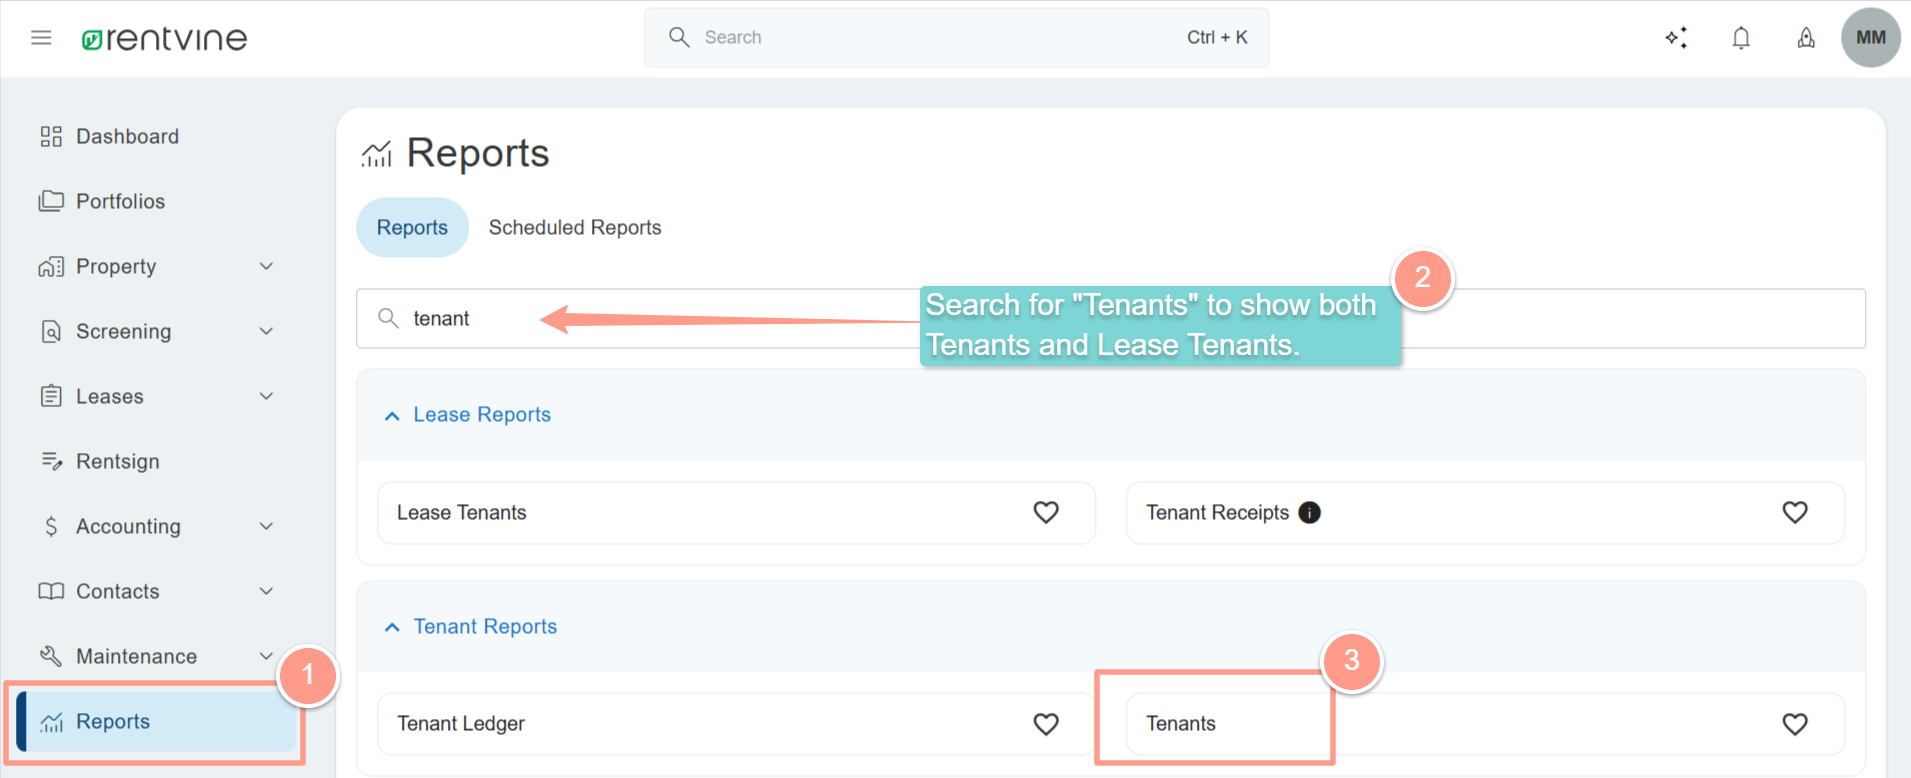
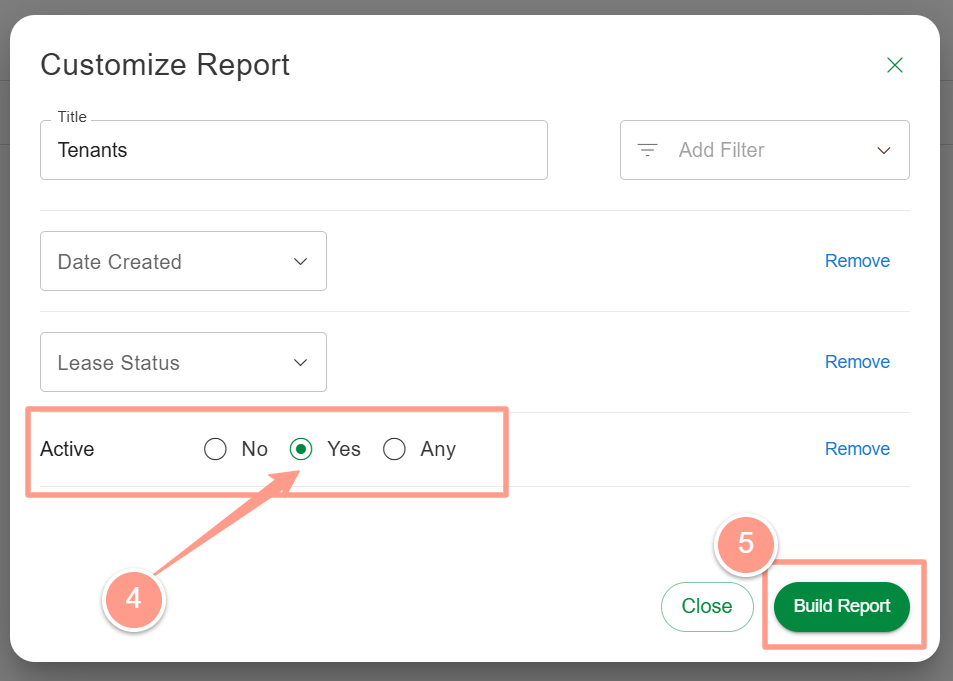
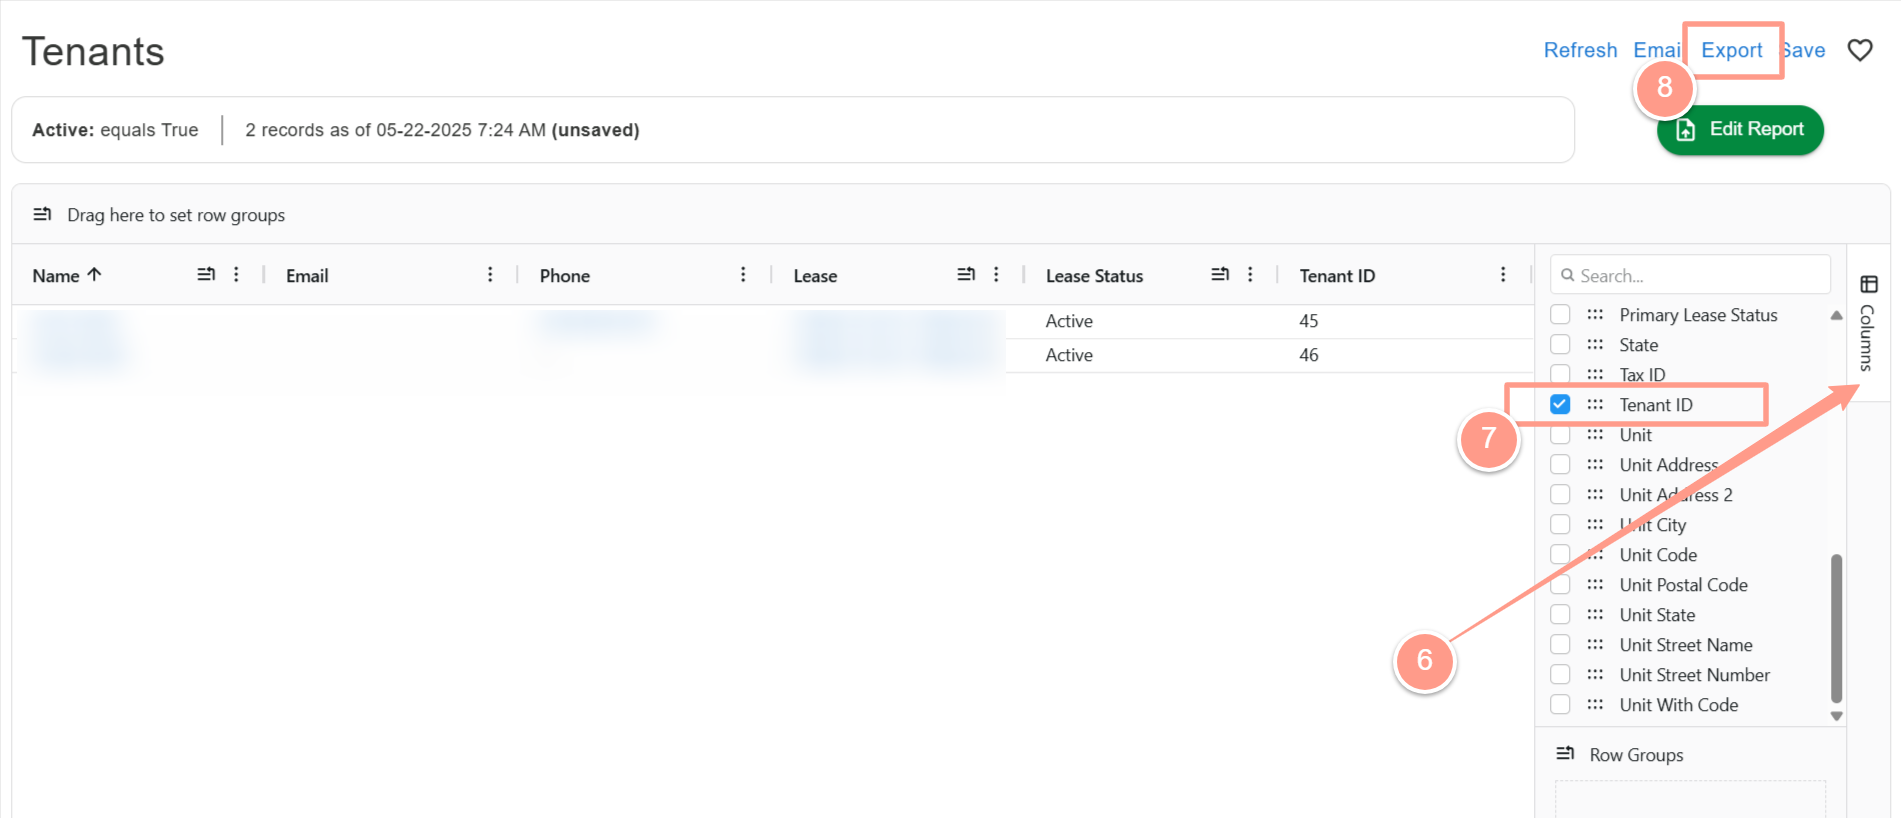
What happens when a customer first activates their integration?
When an admin first activates the customer’s Rentvine integration nothing happens immediately. The integration will be active and will be scheduled for hourly imports. A. Properties The following Property fields are brought over from Buildium to Latchel.| Rentvine Field | Value/Interpretation in Latchel |
|---|---|
| PropertyId | ref_property_id |
| UnitId | ref_unit_id |
| address | address1 |
| address2 | address2 |
| city | city |
| stateID | state |
| postcalCode | zip |
| blank | criticalNote |
| unit.isActive | property.is_active |
| name, unit name | integration_data |
Automatic Property ReconcillationTo ensure accurate customer billing Latchel runs on automated process each month to de-activate any active units in Latchel that no longer exist in Rentvine. This process currently happens on the 27th at 3am PST.Learn more of how this works by going here:
How Latchel Integration Works
Get high-level view of how Latchel connects with your property management system to streamline operations.
When a property is deactivated through the reconcillation process, it will be logged to the property in Latchel as:

| Rentvine Field | Value/Interpretation in Latchel |
|---|---|
| contactID | ref_user_id |
| name | name |
| phone | Primary phone number* |
| propertyId | ref_property_id |
| unitId | ref_unit_id |
| Move In Date | move_in_date |
| Move Out Date | move_out_date |
Previously-created residentsOnce a resident is created we only change a few things on subsequent syncs:
- Property/unit associations
- Move in / move out dates
- When a resident is passed their move-out date, we’ll mark them inactive at the relevant property in Latchel.
- Rentvine → Latchel
| Platform field | Field/Interpretation in Latchel |
|---|---|
| Work order Number | order_number |
| Id | ref_job_id |
| Description: first 50 characters | name |
| Description | Description |
| scheduled Start Date | scheduled_start |
| Status | If the work order is for a vacant unit, set the status to “Scheduling with Vendor.” For occupied units, set it to “Diagnosing Issue.” The platform’s status does not influence the initial status Latchel assigns to the work order. |
| Priority | is_urgent is true if Priority is “High” |
| ContactID or tenant ID | ref_user_id |

- Latchel → Rentvine
| Field in Latchel | Field/Interpretation in Platform |
|---|---|
| order_number | Order number is synced back to Latchel and updated in Latchel to reflect the order number in Rentvine |
| name + description | description |
| vendor_instructions | Vendor Instructions |
| is Shared With Tenant | Entry Notes |
| is Shared With Owner | Vendor Id Latchel vendor - we create and add a “Latchel Vendor” for this purpose |
| priority ID | if is_emergency: 3, else 2 |
| work Orde Status ID | always closed for now |
| is Vacant | is_vacant |
| requested By Contact ID | tenant_id |
| ref_property_id | property ID |
| ref_unit_id | unit ID |
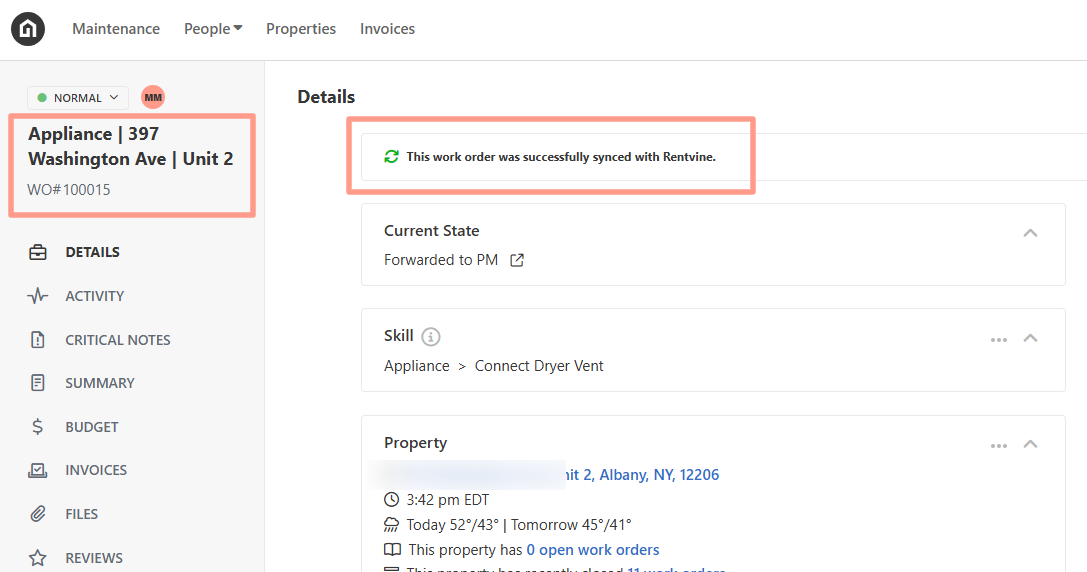
Latchel files do not sync to Rentvine at this time.